Travel Checklist: eSIM Setup Before Your Trip
https://www.zimconnections.com/travel-checklist-esim-setup-before-your-trip/
 SHARE
SHARE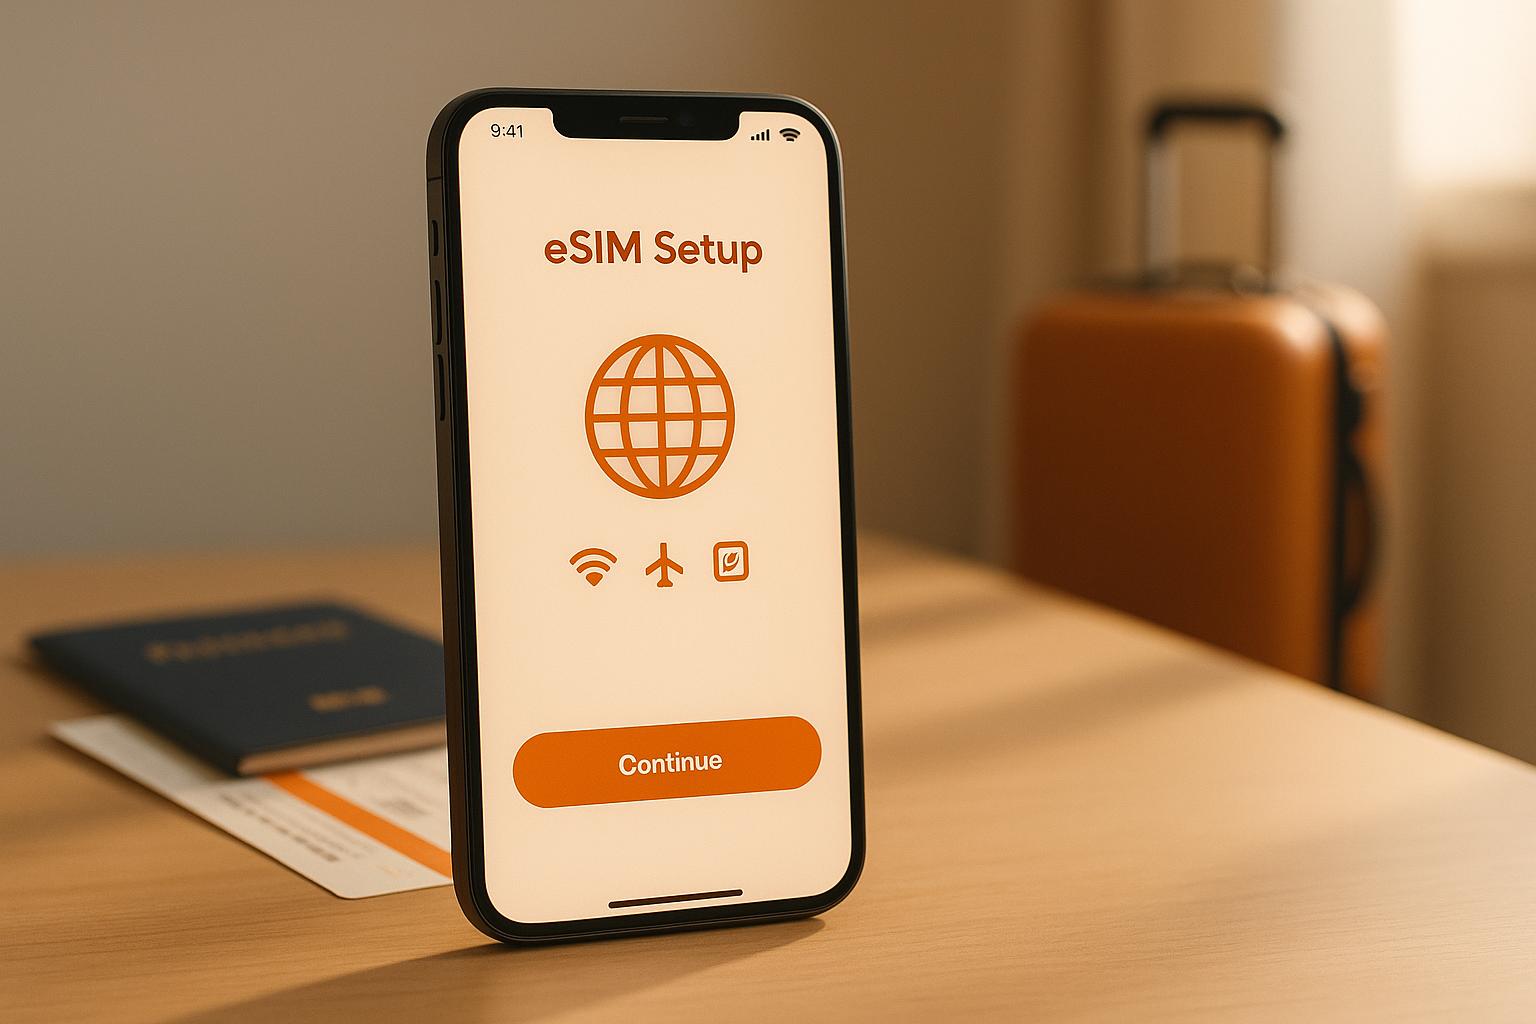
Setting up an eSIM before travelling can save you money, time, and hassle. Unlike physical SIM cards, eSIMs are digital and built directly into your device, making them secure and convenient. Here’s what you need to know:
- Why set it up early? Avoid roaming fees (e.g., £750 for 10GB abroad with UK carriers) by opting for prepaid eSIM plans, which cost as little as £15 for the same data.
- Device compatibility: Check if your phone supports eSIM by dialling *#06# or exploring your settings (e.g., iPhone: Settings > Mobile Data > Add eSIM). Ensure your phone is unlocked.
- Plan options: Choose between local, regional, or global eSIM plans based on your travel needs. Prices range from £2 for 1GB (7 days) to £50 for unlimited data (30 days).
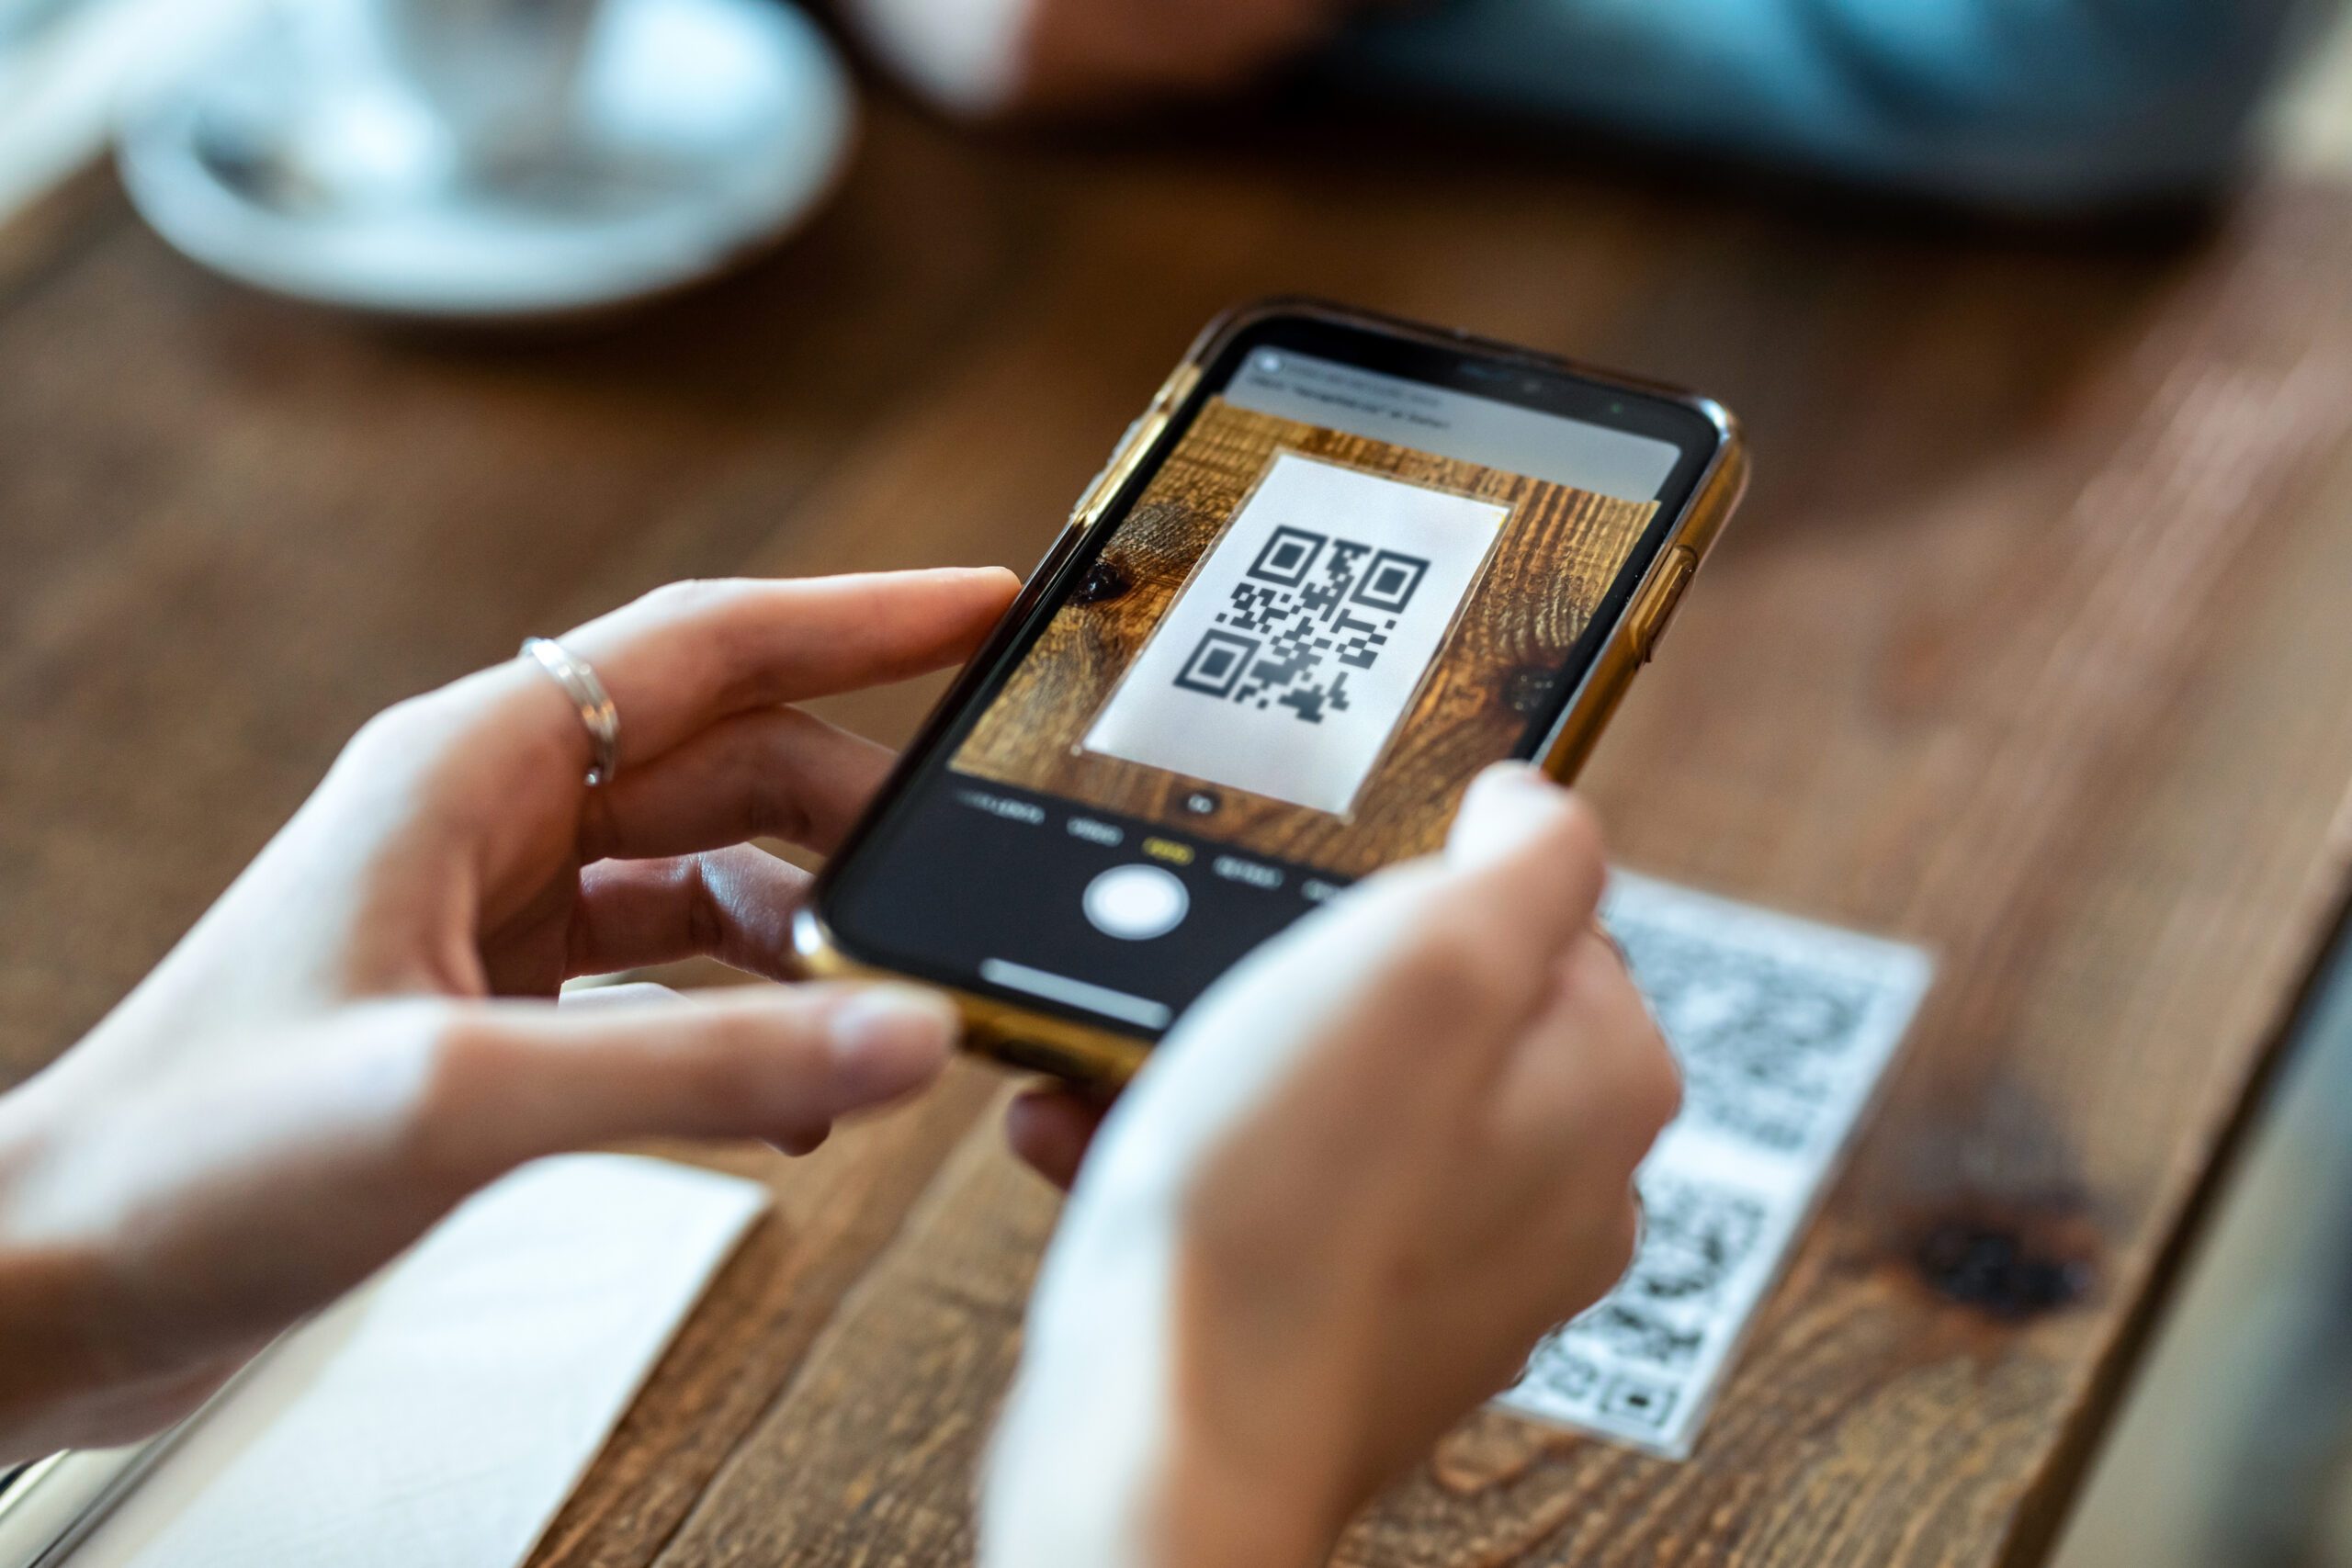
- Installation tips: Activate your eSIM at home using a QR code or activation link. Test connectivity before you leave.
- Key settings: Enable data roaming for the eSIM and disable it for your home SIM to avoid extra charges.
Step 1: Check if Your Device Works with eSIM
How to Confirm Your Device Supports eSIM
Before purchasing an eSIM plan, it’s essential to confirm whether your device supports eSIM. The quickest way to check is by dialling *#06#. If your device is compatible, an EID (eSIM ID) will appear alongside the IMEI number.
Another way is to explore your device settings:
- iPhone: Go to Settings > Mobile Data > Add eSIM.
- Samsung: Navigate to Settings > Connections > SIM card manager > Add eSIM or search for "IMEI (eSIM)".
- Google Pixel: Open Settings > Network & Internet, tap the ‘+’ next to SIMs. If you see the option Download a SIM instead?, your device supports eSIM.
Make sure your device is unlocked, as carrier-locked phones might not support eSIM. For iPhones, you can verify this by checking Settings > General > About. In the "Carrier Lock" section, it should say No SIM restrictions.
Once you’ve confirmed compatibility, take a moment to review which devices commonly support eSIM before deciding on a plan.
eSIM-Compatible Devices in the UK
In the UK, most modern smartphones support eSIM technology. For Apple devices, eSIM compatibility started with the iPhone XR and iPhone XS. Nearly all newer iPhones sold in the UK since those models include eSIM functionality, though certain models from specific regions may not.
For Samsung users, eSIM is available on Galaxy S20 series and newer. This includes the Z Flip and Z Fold series, as well as some A series models. However, regional variations exist – some US versions of the Galaxy S20, S21, and Note 20 Ultra lack eSIM support.
Google Pixel devices have supported eSIM since the Pixel 2, making them another reliable option. Again, it’s wise to confirm regional compatibility.
Beyond smartphones, certain tablets, laptops, and other gadgets also support eSIM. Always check the manufacturer’s specifications or your device’s user manual to be sure. Taking the time to verify compatibility can save you the frustration of buying an eSIM plan that doesn’t work with your device.
Step 2: Pick and Buy the Right eSIM Plan
Learn About Different eSIM Plan Types
When choosing an eSIM, you’ll find three main types: local, regional, and global.
- Local plans: These are designed for a single country. If you’re staying in one place, like the UK, a local plan offers great value. For example, it’s perfect for trips to cities like London, Edinburgh, or Cardiff.
- Regional plans: Covering multiple countries within a specific area, these plans are ideal if you’re visiting neighbouring countries on the same trip. A regional European plan works well for journeys that include London, Paris, and Amsterdam.
- Global plans: If your travels span multiple continents or destinations, a global plan is your best bet. These plans often cover over 125 countries, and some, like those from ZIM Connections, extend to more than 200 destinations. They’re a solid choice for frequent or multi-destination travellers.
Once you’ve identified the type of plan that suits your itinerary, take a closer look at its pricing and coverage details to ensure it aligns with your needs.
Compare Coverage and Prices in £
The cost of eSIM plans can vary widely depending on the data allowance, duration, and coverage area. Here’s a general idea of pricing:
- Budget options: Start at around £2.00 for 1GB over seven days.
- Premium plans: Unlimited data plans can cost approximately £50 for 30 days.
For UK-specific travel, local plans are often the most economical. For instance:
- 1GB for seven days starts at about £3.50.
- A 10GB plan for 30 days costs around £11.
- For heavier data users, 20GB plans are available for about £28, and unlimited options start at roughly £5.40 per day.
When choosing, think beyond price. Consider how much data you’ll realistically need. For example:
- If you’re a casual traveller using maps and social media, 3–5GB per week should suffice.
- If you’re working remotely or streaming regularly, aim for 10–20GB per week.
Coverage quality is just as important as cost. In the UK, EE offers 87% 4G coverage, while O2 provides 5G in over 750 locations.
Here are some additional features to keep in mind when comparing plans:
- Data allowances: Options range from small 1GB plans to unlimited data. Be aware that some "unlimited" plans may reduce speeds after a certain usage threshold.
- Validity periods: Plans can last from seven days to a full year, with monthly options being common.
- Communication features: Some plans are data-only, while others include a local phone number for calls and texts.
- Tethering support: If you plan to use your phone as a hotspot, check whether this is allowed and if extra fees apply .
ZIM Connections stands out by offering plans that cover over 200 destinations, with options for local, regional, and global use. Their eSIMs include 5G/4G connectivity, unlimited data, and even local phone numbers when needed – making sure you’re covered wherever you go.
"The right eSIM can transform your travel connectivity experience." – Sarah Richards, mobile technology expert
Once you’ve chosen the perfect plan, you’re ready to set up and install your eSIM.
Step 3: Set Up and Install Your eSIM
Install Your eSIM
After purchasing your eSIM plan, you’ll receive all the necessary installation details digitally – usually as a QR code or an activation link sent to your email. To get started, make sure you’re connected to a stable Wi‑Fi network. Keep in mind that most QR codes are single-use, so ensure you have everything ready before you begin.
For iPhone users, head to Settings > Cellular > Add eSIM, then scan the QR code or manually enter the SM-DP+ Address and Activation Code. Android users should navigate to Settings > Network & Internet (or Connections) > SIM Manager > Add eSIM and follow similar instructions.
The installation process usually takes just a few minutes as your device downloads and activates the eSIM. It’s a good idea to install your eSIM the day before your trip to allow extra time in case any issues arise.
Name and Set Up Your eSIM
Once installed, give your eSIM a clear and descriptive name to make it easy to identify later. Instead of sticking with the default carrier name, consider renaming it to something like “Travel Data – Spain” or “ZIM Europe Plan”. This is especially helpful if you frequently travel and have multiple eSIM profiles stored on your device.
For iPhones, you can rename your eSIM by going to Settings > Cellular, selecting your new eSIM, and tapping Cellular Plan Label. From there, you can choose one of the preset options or create a custom label that fits your needs.
On Android devices, the steps may vary depending on the manufacturer, but look for options like SIM card name or Label in your mobile network settings.
Next, configure your data settings. If you plan to use your eSIM as your main internet connection while travelling, set it as your primary data SIM in your device settings. This ensures your phone uses the eSIM for internet connectivity rather than your home network, helping you avoid high roaming charges.
Pay close attention to your data roaming settings. For your eSIM travel plan, enable data roaming so your device can connect to local networks at your destination. At the same time, make sure data roaming is disabled for your home SIM to avoid unexpected charges.
- On iPhones and iPads, go to Settings > Cellular, select your eSIM, and toggle Data Roaming to ON. For your home SIM, ensure data roaming is turned off.
- Google Pixel users can adjust these settings under Settings > Network & Internet > Mobile networks, enabling both Mobile Data and Roaming for the eSIM.
- Samsung device users will find similar options in their network settings, though the exact steps may vary slightly depending on the model. Just remember, if your eSIM is set as the primary SIM for data, keep data roaming enabled for that SIM.
Once your eSIM is named and configured, test your connection before you leave to ensure everything is working smoothly.
Step 4: Test Your Connection Before You Leave
Make Sure Your Connection Works
Before you head off on your trip, take a moment to confirm that your eSIM is installed and working properly. It’s a good idea to do this a day or two before you leave. This way, if there’s an issue, you’ll have time to sort it out without any last-minute stress.
To check if your eSIM is installed, look in your phone’s SIM settings. On an iPhone, go to Settings > Cellular and locate your eSIM profile. If you’re using an Android device, head to Settings > Network & Internet > SIM Manager to view your installed profiles.
Keep in mind that some eSIM plans activate only when you arrive at your destination, while others may activate as soon as you install them. Check the activation policy of your specific plan so you know exactly when your data allowance will start.
Once you’ve arrived at your destination, turn off Wi-Fi to test the mobile data connection. Open a website or send a message to confirm everything is working. If your device doesn’t connect to mobile data within a few minutes, double-check the instructions from your eSIM provider to ensure you haven’t missed any steps. Restarting your device can also help resolve connectivity issues.
Adjust Your Device Settings for Travel
To avoid any unexpected charges, make sure your device settings are configured correctly for international travel. Your UK SIM should have data roaming turned OFF, while your travel eSIM should have data roaming turned ON to connect to local networks.
For iPhone users, you can adjust these settings by going to Settings > Cellular. Select each SIM individually and toggle the Data Roaming option as needed. On Google Pixel devices, these options can be found under Settings > Network & Internet > Mobile networks, and Samsung users can access them via Settings > Connections > Mobile Networks.
Once you’ve verified these settings and tested your connection, you’re all set for your trip. Keep your eSIM activation details handy, and make sure you’re familiar with troubleshooting steps in case you run into any issues while travelling.
sbb-itb-273ea09
How to Use an eSim for International Travel (for Beginners)
Fix Problems and Get Help When Needed
Once your eSIM is set up, it’s smart to prepare for any hiccups by securing your activation details and knowing how to get help if something goes wrong.
Keep Your Activation Details Safe
Your eSIM activation details – like the QR code or activation link – are essential for staying connected while travelling. Make sure you store these securely but accessibly. A good tip is to take a screenshot of the QR code and back it up to a secure cloud service or email it to yourself.
Why is this important? If you accidentally delete your eSIM profile or lose the original QR code, having these details saved will allow you to reinstall your eSIM without stress. Losing access to your eSIM while travelling can leave you stranded without connectivity, so it’s worth taking precautions.
Also, consider enabling two-factor authentication on any accounts linked to your eSIM for added security.
Know How to Reach Customer Support
In case your eSIM runs into trouble, it’s crucial to know how to get help quickly. ZIM Connections, for example, offers live support through their app and email at support@zimconnections.com. Save these contact details on your phone before you travel, so you don’t waste time searching for them when you’re already dealing with connectivity issues.
To speed up the support process, have your eSIM order confirmation, device information, and a clear description of the issue ready. The more specific you can be, the faster the support team can assist you. Keep in mind that response times may vary depending on time zones, so reach out as soon as you notice a problem.
Fix Common Problems
Most eSIM issues are pretty common and can often be fixed with simple troubleshooting. For instance, activation problems often stem from incomplete setup. Double-check that you’ve followed all the activation steps correctly.
If you’re not getting a signal, the first thing to check is whether you’re in an area with good network coverage. If coverage isn’t the issue, try these quick fixes: toggle airplane mode on and off or manually select a network instead of using automatic selection. These basic steps can resolve many temporary connection problems.
For more persistent issues, ensure that data roaming is enabled on your device for the travel eSIM and verify your APN settings if your provider requires specific configurations. In some cases, connectivity can be affected by country-specific firewalls or network filtering, especially in places with restricted internet access.
Here’s a handy table to guide you through common eSIM problems and their solutions:
| Problem | Basic Troubleshooting | Advanced Troubleshooting |
|---|---|---|
| No Signal | Toggle Airplane Mode | Check Carrier Network for Outages; Reset Network Settings |
| Activation Failures | Verify QR Code; Check Carrier Info | Manually Input Profile; Use Carrier Diagnostic Tools |
| Data Connection Dropping | Check Network Settings; Toggle Mobile Data | Reset APN Settings; Re-enter Network Profile |
| Switching eSIM Profiles Fails | Set Default Profile for Data or Calls | Clear Conflicting Profiles; Use Developer Debug Tools |
If none of these steps work, don’t hesitate to contact customer support. They’re there to help you get back online as quickly as possible.
Conclusion: Stay Connected During Your Travels
With this checklist, you can tick off every essential step to ensure uninterrupted connectivity while travelling. Setting up your eSIM before you leave is a key move for hassle-free travel in today’s digital world. A little preparation goes a long way in making sure you stay connected the moment you arrive at your destination.
Double-checking your device compatibility, picking a plan that fits your data needs and budget, installing your eSIM at home, and testing the connection beforehand all combine to give you reliable service wherever you go. Staying connected means you’ll have the tools to access maps, keep in touch with loved ones, and easily arrange transport – giving you peace of mind throughout your journey.
Once you’ve sorted your setup, ZIM Connections has you covered for smooth global access. Their international eSIM plans span over 200 destinations and start at just £1. With a straightforward platform that recommends the best plan for your trip, ZIM Connections makes activation quick and keeps your connection reliable.
"Activating your eSIM before travel is a smart way to stay connected without the hassle of physical SIM cards or high roaming charges." – Joy Atuzie, tryajo.com
Get your eSIM ready with ZIM Connections and enjoy stress-free travel.
FAQs
How do I check if my device supports eSIM before buying a plan?
To determine if your device supports eSIM, start by exploring its settings. On an iPhone, head to Settings > General > About and look for the EID number. For Android users, go to Settings > Connections > SIM Manager or a similar menu to locate eSIM information.
Another option is to compare your device model with the manufacturer’s list of eSIM-compatible devices. If you’re still uncertain, refer to your device’s manual or reach out to the manufacturer for assistance. Checking compatibility in advance can help make your eSIM setup process hassle-free, especially when preparing for travel.
What are the advantages of using a global eSIM plan for frequent travellers compared to local or regional options?
A global eSIM plan is a practical option for frequent travellers, offering hassle-free connectivity across multiple countries without the need to buy and switch physical SIM cards. This eliminates the inconvenience of juggling different SIMs, saving both time and effort – especially useful for those hopping between destinations on a single trip.
What’s more, you can set up your global eSIM before your journey begins, ensuring uninterrupted service as you move from one country to another. It’s also a smart way to manage costs, sparing you from purchasing separate plans in each location. For anyone seeking a straightforward and flexible way to stay connected, a global eSIM is an excellent travel companion.
What should I do if my eSIM doesn’t activate or connect properly when I arrive at my destination?
If your eSIM isn’t working after you arrive, the first step is to make sure your device is eSIM-compatible and unlocked. Restart your phone, then check your network settings to confirm that mobile data and data roaming are turned on. Also, verify that your eSIM profile is properly installed and active in your device’s settings.
Still having trouble? Resetting your network settings can often fix configuration issues. It’s also worth checking if there’s network coverage in your area and ensuring your eSIM plan is valid for your destination. If none of these steps work, reach out to your eSIM provider’s customer support for help specific to your situation.