How to Install an eSIM on Your Phone in 5 Steps
https://www.zimconnections.com/how-to-install-an-esim-on-your-phone-in-5-steps/
 SHARE
SHARE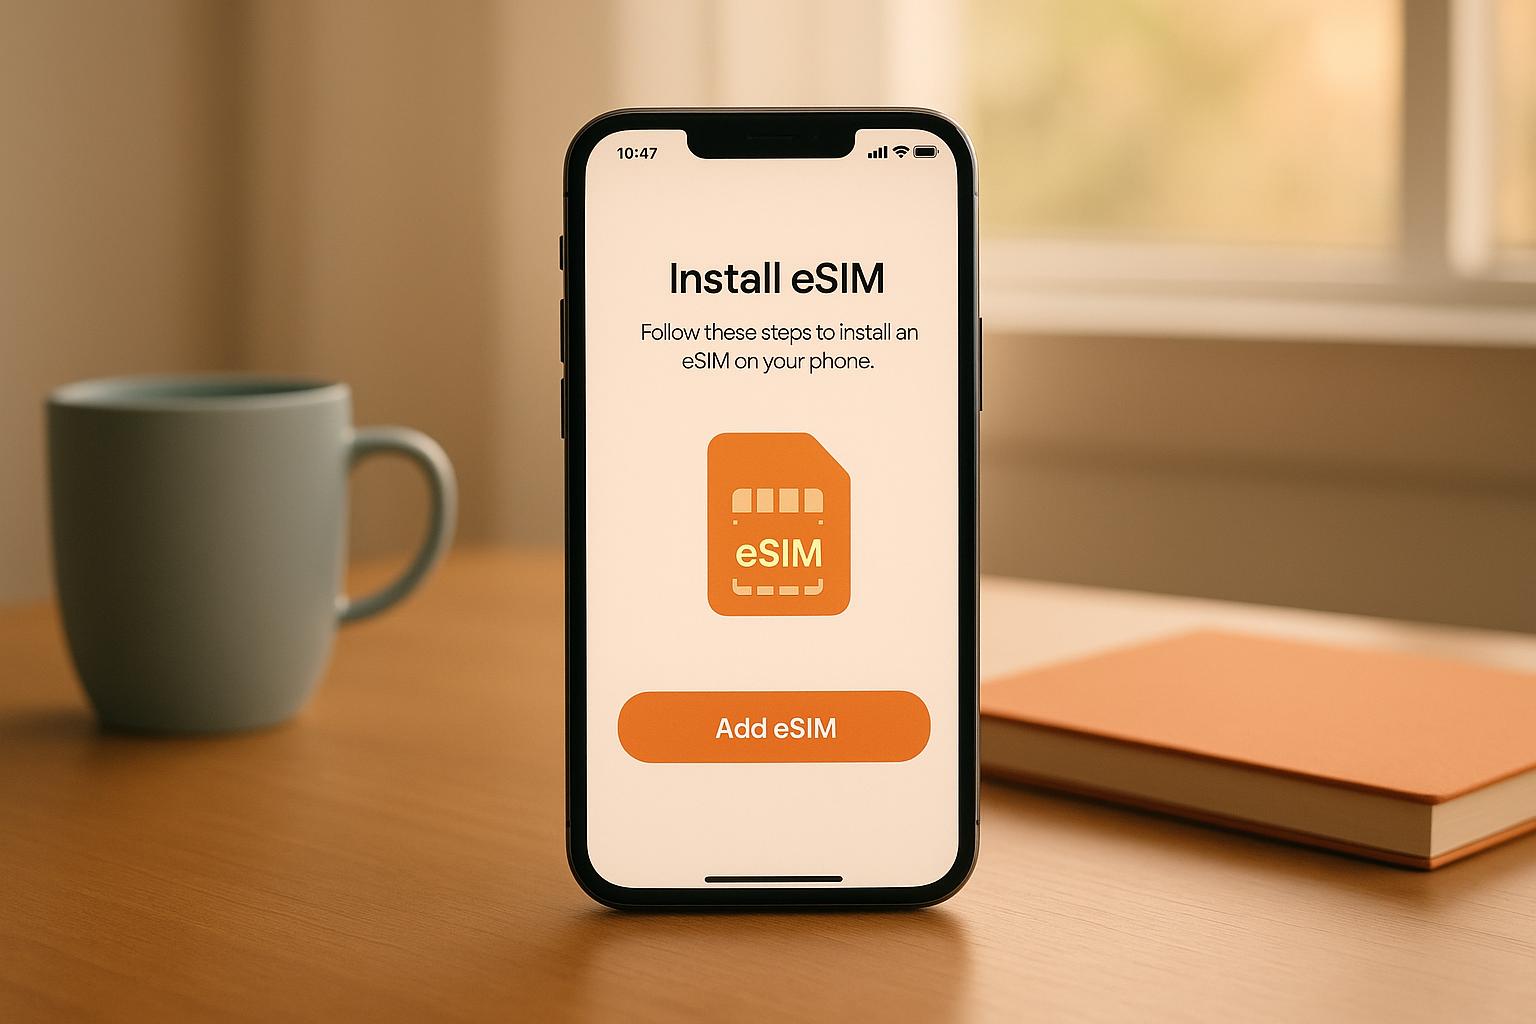
eSIMs are digital SIM cards built into your device, offering the flexibility to switch carriers and activate plans remotely. Ideal for travellers, they eliminate the need for physical SIM cards and reduce roaming costs. Here’s how to set up an eSIM in five simple steps:
- Check Compatibility: Ensure your phone supports eSIM by checking settings or dialling
*#06#to find an EID. Popular models like iPhones (XR onwards), Samsung Galaxy, and Google Pixel support eSIM. - Prepare Your Device: Update your phone’s software, ensure a stable internet connection, and have your eSIM details (QR code or activation code) ready.
- Purchase an eSIM Plan: Buy your plan online and receive activation details via email.
- Install the eSIM: Go to your phone’s eSIM setup menu, scan the QR code, or enter details manually.
- Activate and Configure: Set preferences for data, calls, and texts. Enable data roaming if travelling abroad.
If you encounter issues, troubleshooting steps include checking compatibility, ensuring stable internet, and verifying settings. For persistent problems, contact your provider’s support team. eSIMs are a convenient way to stay connected, especially during travel.
How to set up eSIM? | Quick Tutorial for iPhone & Android 📱
Step 1: Check Device Compatibility
Before diving into eSIM setup, you need to ensure your phone supports eSIM technology. The process to verify this can vary depending on your device manufacturer. One quick way to check is by using a simple code: dial *#06#. This will display both your IMEI number and, if your phone is eSIM-compatible, an EID (a unique identifier for eSIMs).
Checking Through Device Settings
Different manufacturers place eSIM settings in various sections of the menu. Look for an option like "Add eSIM" to confirm compatibility. Here’s how to find it on popular devices:
- iPhones: Navigate to Settings > Cellular. If you see "Add eSIM", your device is compatible. All iPhone models from the XR and XS onwards include this feature.
- Samsung Galaxy devices: Go to Settings > Connections > SIM card manager (or SIM Manager). If "Add eSIM" is listed, your device supports eSIM.
- Google Pixel phones: Head to Settings > Network & Internet > Advanced. Tap the "+" icon and look for "Download a SIM instead?" Alternatively, check for an "Add Operator" option .
- Huawei devices: Look under Settings > About Phone > Show EID. If an EID is visible, your device is eSIM-compatible. You might also find eSIM settings under Settings > Mobile Networks > SIM Management.
Popular eSIM-Compatible Models in the UK
Here’s a list of widely available eSIM-compatible devices in the UK:
| Manufacturer | Compatible Models |
|---|---|
| Apple | iPhone 16, 15, 14, 13, 12, 11, SE (2020 & 2022), XR, XS; iPad Pro, Air, Mini |
| Samsung | Galaxy S20–S25 series; Note 20; Fold series; Z Fold & Z Flip series; A35, A55 5G |
| Google Pixel | Pixel 3, 4, 5, 6, 7, 8, 9 series |
| Huawei | P40 series, Mate 40 Pro, Pura 70 Pro |
| OnePlus | OnePlus 11, 12, 13, 13R, Open |
Important Compatibility Considerations
Even if your phone is on a compatibility list, there’s one important factor to consider: your device must be carrier-unlocked to use eSIM services. Some phones sold through specific networks may have the eSIM feature disabled. Additionally, the same model might have different eSIM compatibility depending on the country version.
If you’re unable to confirm compatibility through settings or still have doubts, consult your device manufacturer’s website or contact the seller for clarification .
Step 2: Prepare for eSIM Installation
Once you’ve confirmed your device is eSIM-compatible, it’s time to get everything ready for a smooth activation process.
Update Your Operating System
Ensure your device is running the latest operating system. Regular updates from manufacturers often include improvements to eSIM functionality and fixes for known issues.
Here’s how to check for updates:
- iPhone: Head to Settings > General > Software Update
- Android devices: Go to Settings > System > System Update (note that the exact path might vary depending on the manufacturer).
Ensure a Stable Internet Connection
A strong and reliable internet connection is crucial for downloading the provider profile. Connect to a robust Wi-Fi network to avoid interruptions during the process.
Gather Your ZIM Connections eSIM Details

After purchasing your ZIM Connections eSIM plan, you’ll receive an email containing a QR code. Keep this email handy, as it includes all the information needed for activation.
You can access your activation details in two ways:
- QR Code Method: Use the QR code provided in your email.
- Manual Entry Method: Locate the SM-DP+ Address and activation code in your ZIM@SBB app wallet under the "eSIM settings" section.
Timing Your Installation
It’s a good idea to install your eSIM profile 1–2 days before your trip. This allows time to resolve any unexpected issues. Additionally, service providers can send over-the-air updates to your eSIM profile, ensuring you receive the latest connectivity improvements, security updates, and performance enhancements.
Once your device is updated, connected to the internet, and you have all your eSIM details ready, you’re all set to move on to the next steps for installation.
Step 3: Install the eSIM in 5 Steps
Setting up your ZIM Connections eSIM is straightforward and can be done in just five steps.
Purchase and Receive Your eSIM Plan
Start by selecting the ZIM Connections eSIM plan that best suits your needs on our website or mobile app. Once you’ve made your purchase, you’ll instantly receive an email containing all the necessary details, including a QR code and manual activation instructions. Since everything is delivered digitally, there’s no need to wait for physical delivery or visit a store. To maximise the validity of your eSIM, consider purchasing it in advance and activating it closer to your departure date.
Access eSIM Setup on Your Device
The process for finding the eSIM setup menu may vary slightly depending on your device, but the general steps are similar.
- For iPhone users: Go to Settings > Mobile Data > Add eSIM. You’ll find options to add a new mobile plan by scanning a QR code or entering details manually.
- For Android users: Head to Settings > Network & Internet > SIMs > Add eSIM or Settings > Network & Internet > Mobile Network > Add. The exact wording might differ depending on your device’s manufacturer. If prompted with "Don’t have a SIM card?", simply tap Next to proceed.
Once you’ve located the setup menu, you can scan the QR code or manually enter the details to continue the installation.
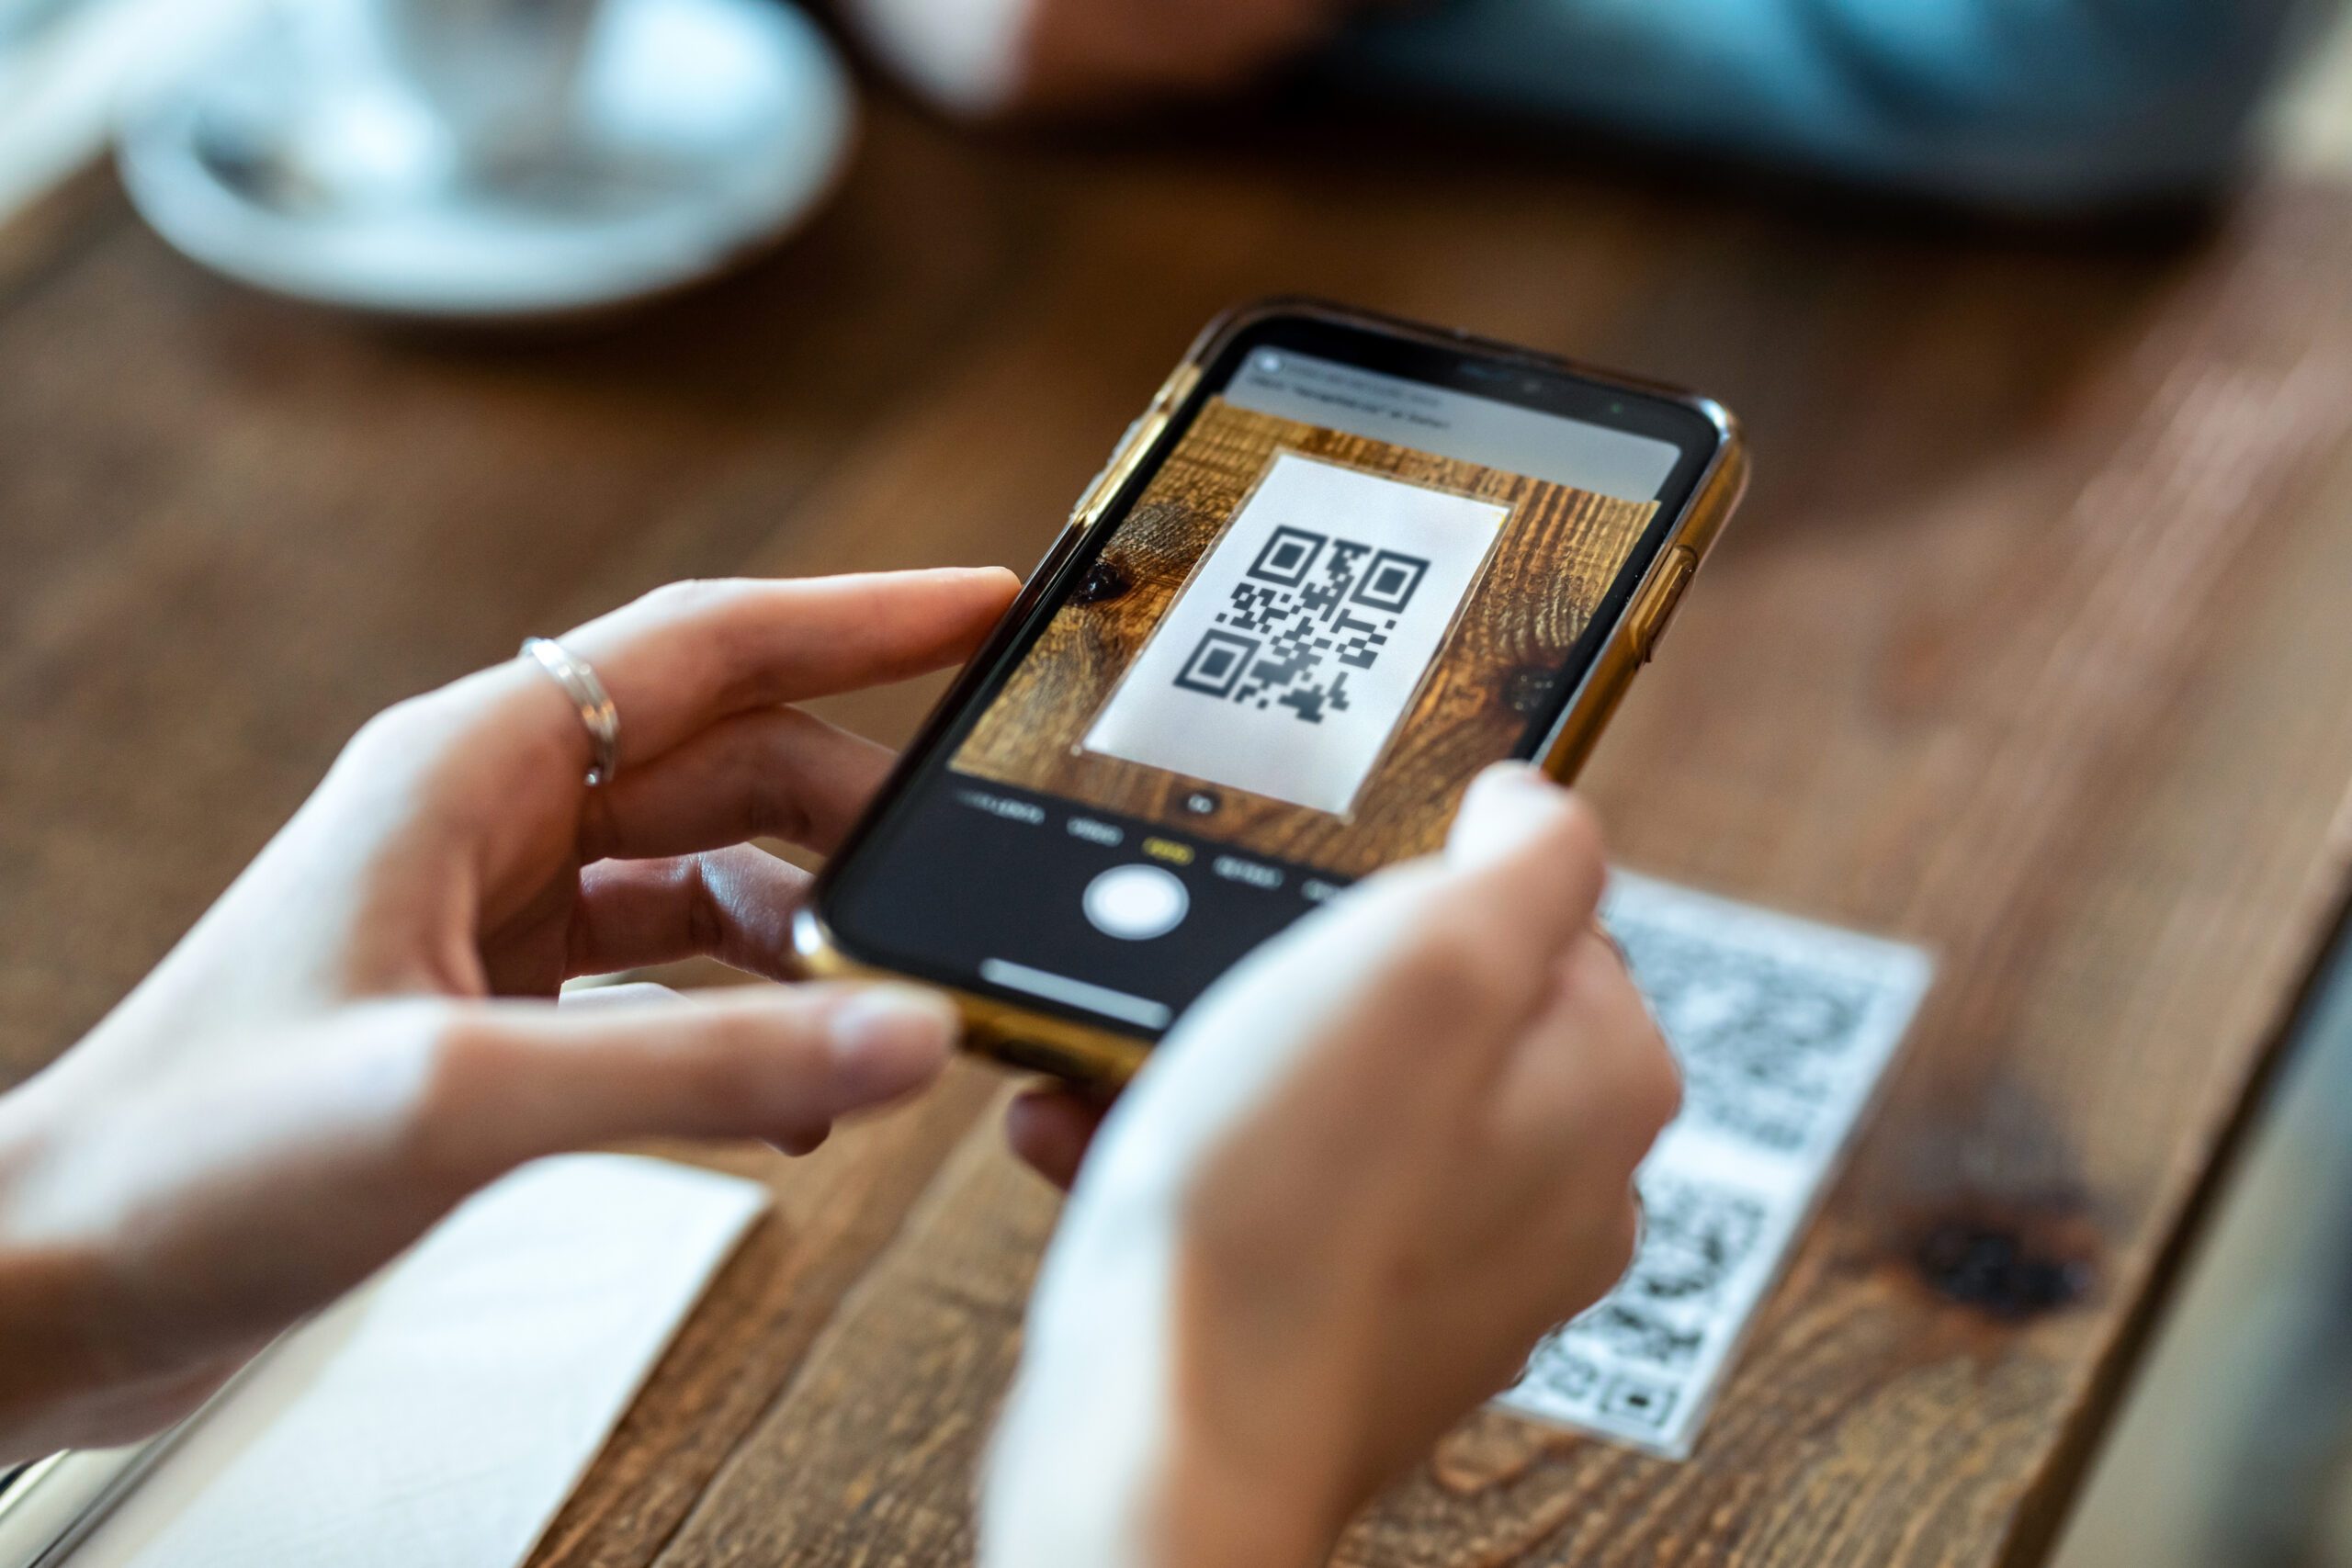
Scan the QR Code or Enter Details Manually
Using the QR code is the quickest way to install your eSIM. Open your device’s camera and position it over the QR code in your ZIM Connections email. Your device should automatically detect the code and prompt you to add the eSIM.
- For iPhone users with iOS 17.4 or later: You can also press and hold the QR code directly in your email or a webpage, then select Add eSIM.
- If the QR code doesn’t work, you can manually enter the SM-DP+ address and activation code.
Manual entry on iPhone: Go to Settings > Cellular/Mobile Data > Add Cellular Plan > Enter Details Manually.
Manual entry on Android: Navigate to Settings > Network & Internet > Add (or tap the + icon next to Mobile Network) > Enter Code Manually.
Download and Install the eSIM Profile
After scanning the QR code or entering the activation details, your device will automatically download and install the eSIM profile. This process typically takes just a few minutes, depending on your internet connection. During the installation, you’ll see a progress indicator – be sure not to exit the settings menu while the download is in progress.
Once complete, you’ll receive a notification confirming the successful installation, and the new eSIM will appear in your mobile network settings.
Activate and Configure Your eSIM
The final step is to activate your eSIM and set it up according to your preferences. You can choose whether to use the ZIM Connections eSIM as your primary or secondary data line.
If you’re travelling internationally, make sure to enable Data Roaming under the eSIM profile. You can also configure your call and text settings, deciding which line to use for voice calls, SMS, and mobile data. Many users opt to keep their home SIM for calls and texts while using the eSIM exclusively for data.
Once activated, your ZIM Connections eSIM is ready to use. Activation typically happens automatically when you arrive at your destination, but you can also enable it manually through your device’s mobile network settings before you travel.
sbb-itb-273ea09
Troubleshooting Common eSIM Issues
Even after carefully following the installation steps, you might run into some common problems when setting up your ZIM Connections eSIM. The good news? Most of these issues have straightforward fixes. By identifying the root cause, you can save yourself time and effort. Below is a handy guide to some frequent eSIM problems and their solutions.
Common Problems and Solutions
The majority of eSIM issues arise from device compatibility, network connectivity, or incorrect settings. Here’s a quick reference table to help you troubleshoot:
| Issue | Possible Cause | Solution |
|---|---|---|
| QR code won’t scan | Camera permissions disabled or poor lighting | Enable camera permissions in your settings and ensure proper lighting. |
| eSIM won’t activate | Outside coverage area or data roaming disabled | Confirm you’re in the correct region and enable data roaming in your settings. |
| No internet connection | Weak Wi‑Fi during setup or incorrect APN settings | Move to a stronger Wi‑Fi signal area and verify APN settings with provider details. |
| "Activating" message stuck | Network congestion or carrier issues | Wait 10–15 minutes, restart your device, and avoid deleting the eSIM profile. |
| Weak signal | Automatic network selection issues | Manually select a network via Settings → Mobile Network → Carrier. |
| Slow data speeds | Network congestion or data plan limits | Check your data limits and try manually switching to a different network. |
If you’re still experiencing issues, make sure your device is eSIM-compatible and running the latest software version. Some devices, like iPhones, can store multiple eSIM profiles but may only activate two at a time. Double-check if you’ve reached your device’s activation limit.
For connectivity problems during travel, toggling Airplane Mode on and off often resets the connection. Restarting your device can also solve many network-related hiccups. If the problem persists, consider resetting your network settings – but remember, this will erase saved Wi‑Fi passwords.
For iPhone users running iOS 18, the Apple Support app can provide additional diagnostics and troubleshooting options.
When to Contact Support
If you’ve gone through all the troubleshooting steps and your eSIM still isn’t functioning properly, it’s time to reach out to ZIM Connections customer support. Do not delete the eSIM profile before contacting support, as this can complicate the resolution process.
For account-specific issues, like billing errors or activation problems, contact support immediately. The team can investigate carrier network issues or account restrictions that might be causing the problem. Live chat is often the quickest way to resolve these issues, as technicians can walk you through device-specific settings in real time. Alternatively, email support is available for less urgent matters or when you need detailed written instructions.
Before contacting support, make sure you have the following information ready:
- Your order confirmation
- Device model
- Current location
Having these details on hand helps the support team diagnose the problem faster and provide precise solutions.
Tips for Using eSIM While Travelling
Travelling with an eSIM can make staying connected much easier, but a few smart steps can help you avoid unexpected costs and technical issues. Here’s how to make the most of your ZIM Connections plan while keeping things hassle-free.
Avoid Roaming Charges
To steer clear of unexpected roaming fees, disable your primary SIM before activating your eSIM abroad. This ensures your home network doesn’t charge you for roaming while your eSIM handles all your data and calls.
- iPhone users: Go to Settings → Mobile Service and turn off data and roaming for your primary SIM.
- Android users: Head to Settings → SIM cards & mobile networks to find similar options.
Also, turn off automatic network selection on your primary SIM. This prevents your phone from accidentally connecting to your home network. For added convenience, set your eSIM as the default line for mobile data in your phone’s settings, ensuring all internet traffic is routed through your ZIM Connections plan.
Enable Hotspot Sharing
Your eSIM can do more than keep your phone connected – it can turn your device into a portable Wi‑Fi hotspot. This allows you to share your data connection with laptops, tablets, or other devices. However, not all eSIM plans support this feature, so double-check that hotspot sharing is included in your ZIM Connections plan.
Setting up a hotspot is straightforward:
- iPhone: Navigate to Settings → Personal Hotspot and toggle it on.
- Android: Go to Settings → Network & Internet → Hotspot & Tethering.
Make sure to create a strong, unique password to secure your hotspot from unauthorised users. Keep an eye on your data usage, as connected devices can quickly eat through your allowance. To save data, disable automatic updates on laptops or tablets and limit background apps that sync data.
Hotspot sharing can drain your phone’s battery faster than usual, so carry a portable power bank to stay powered up when you’re on the go.
Keep a Backup of Activation Details
It’s always wise to have a backup of your eSIM activation details. Save a digital copy of your eSIM QR code and activation information before your trip. You can store screenshots in your photo gallery, email them to yourself, or upload them to a cloud service like Google Drive or iCloud.
For extra security, print a physical copy of your activation details, including your order confirmation number and ZIM Connections customer support contact information. This can be incredibly useful if your phone gets lost, stolen, or damaged.
Travelling with others? Share your activation details with a trusted companion. They can assist you in reinstalling your eSIM or contacting support if needed. Just ensure these details are stored securely, as they contain sensitive information.
Before you leave, test your backup plan. Temporarily remove and reinstall your eSIM profile using your saved details to make sure everything works as expected. This way, you’ll be prepared and confident in handling any technical hiccups while travelling.
Conclusion: Key Takeaways for eSIM Setup
Setting up your eSIM involves five straightforward steps: check compatibility, prepare your device, purchase your plan, access setup settings, and scan the QR code. These steps are designed to work seamlessly across various devices and networks, making eSIM technology a practical option for users worldwide.
With over 89% of mobile operators and 80% of manufacturers embracing eSIM, it’s clear this technology is shaping the future of connectivity. By following the steps above, you’ll join a growing community of travellers who enjoy simple, cost-effective mobile solutions.
Take ZIM Connections, for example. They offer flexible eSIM plans covering more than 200 destinations, with options for local, regional, and global use. Their service removes the hassle of searching for local SIM cards and helps avoid unexpected roaming charges. As Irina Gheorghiu, CEO and co-founder of ZIM Connections, puts it:
"At ZIM Connections, we help people use their mobile phones to talk to their friends and family, send messages, and access the internet. We have a special way of doing this called eSIM technology, which allows you to activate mobile data plans on your phone without needing a physical SIM card. The idea here is to make it easy for people to stay connected no matter where they are, and we’re always looking for new ways to make using your phone simpler and more convenient."
eSIM technology offers multiple benefits, including saving on roaming fees, maintaining your primary number while using local data plans, and enabling hotspot functionality to share your connection across devices. ZIM Connections also provides responsive customer support to help resolve any installation or activation issues, ensuring you stay connected when it matters most.
As technology continues to advance, ZIM Connections is working on even easier activation methods that could eliminate the need for manual setups or QR codes altogether. This commitment to innovation highlights their dedication to making connectivity effortless. Whether you’re travelling for work, exploring as a digital nomad, or simply on holiday, these five steps will help you stay connected reliably and affordably, no matter where your adventures take you.
FAQs
What can I do if my phone doesn’t show the option to add an eSIM in the settings?
If your phone doesn’t show the option to add an eSIM, there could be a few reasons behind it, such as carrier restrictions, regional settings, or software glitches. First, double-check that your device supports eSIM and that your mobile network provider offers eSIM services. Sometimes, a simple restart or installing the latest software updates can fix the issue.
Still no luck? It’s time to reach out to your network provider. They can confirm if eSIM is compatible with your account and might need to activate the feature for you. Also, ensure your phone is connected to the internet during the setup process, as downloading the eSIM profile is essential for activation.
How can I make sure my eSIM works smoothly when travelling abroad?
To make sure your eSIM works smoothly while you’re travelling abroad, start by confirming that your device supports eSIM functionality and is compatible with the networks in your destination. Also, double-check that your eSIM plan covers all the countries on your itinerary.
Before you set off, enable data roaming and adjust your local network settings if necessary. Download any required carrier profiles ahead of time and go through the activation instructions provided by your eSIM provider. Preparing in advance can help you steer clear of connectivity hiccups and enjoy uninterrupted service during your travels.
Are there any security risks to be aware of when using an eSIM for mobile data?
While eSIMs are considered secure, there are a few risks worth noting. One issue is SIM swapping, where scammers convince your network provider to transfer your phone number to a different device. Another potential threat comes from phishing attacks or malware, which can compromise your device and steal sensitive data.
To protect yourself, use strong passwords and enable two-factor authentication on your phone and accounts. Additionally, selecting a network provider known for strong security measures can help reduce these risks.